Chilling your wort is an important step in making beer. Whether you realize it or not, quickly getting your wort down to pitching temperature and adding your yeast culture is an indispensable step in making the best beer possible. In the next few paragraphs, I'll explore the reasons why quick chilling is so important in making great beer.
The first thing I mention to students in my beginning brewing classes is the "danger zone," between about 160F to pitching temperatures, roughly 75F or less. The reason I call this the danger zone is because certain wild yeast and bacteria can survive and thrive at these temperatures. Above 160F, these are inhibited. However, the quicker you chill your wort through this temperature range and add your yeast culture, the less chance that these off-flavor causing nuisances can settle into your wort and get established. Rather, getting your wort cooled and your yeast pitched quickly will allow your yeast to become the dominant culture in the wort and out-compete any wildlings that may have wandered into the wort.
Another reason why quickly chilling the wort is important is to reduce or eliminate certain compounds that contribute to off-flavors. One of the most notable of these is DMS, or Dimethyl Sulfide, which presents as a creamed corn or cooked vegetable flavor or aroma. DMS is actually produced from a precursor, SMM (S-methyl-methionine) while the wort is hot. However, during the boil it volatilizes rapidly, removing it from the beer. The longer you take to chill your wort, the more stays in solution, potentially causing some unwanted flavors and smells in your finished beer.
In addition to these reasons, quick chilling can allow proteins and solids (trub) to precipitate and drop out of solution. This is called the "cold break," and in addition to giving you a clearer beer, a good cold break can prevent chill haze in your beer and allow your beer to last longer without degradation.
Lastly, quick chilling will allow aromatic qualities of the hops to be preserved and carry through to the finished beer, as aroma hops added near the end of the boil will not be volatilized off when quickly chilled.

Methods of Chilling Quickly
There are several methods of chilling, both with and without chilling equipment. Your method of chilling may vary depending on what kind of brewing you are doing.
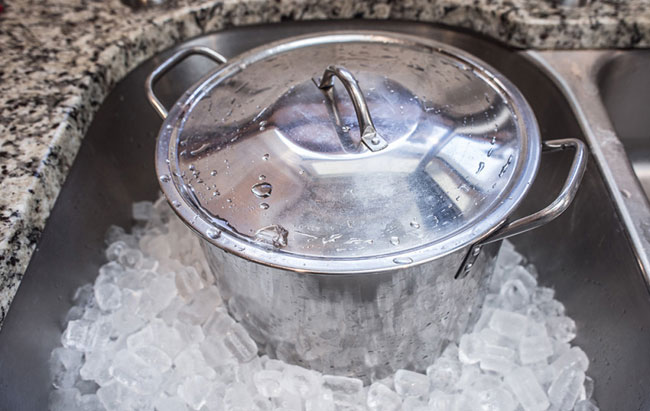
For extract brewers making partial batches, the cool water/ice bath method works well. Cover your brew kettle with the lid to avoid outside contamination and then place the kettle in a sink or bathtub. I generally recommend starting out by running cold water around the outside, swirling and changing the water occasionally. This will help to bring the temperature down before you add your ice, so that your ice is more effective (and you aren't spending as much money on ice as a chiller would cost!)
[caption id="attachment_2363" align="aligncenter" width="650"]

Source: American Homebrewers Association[/caption]
You can then top off in the fermenter with water that you had previously boiled and cooled (to sanitize), or with bottled water, which is ozonated and generally sanitary right out of the sealed bottle. To maximize chilling, cool the water in the refrigerator before adding. Remember not to shock your glass fermenters with hot wort! Instead, pour cool water in and then add hot wort.
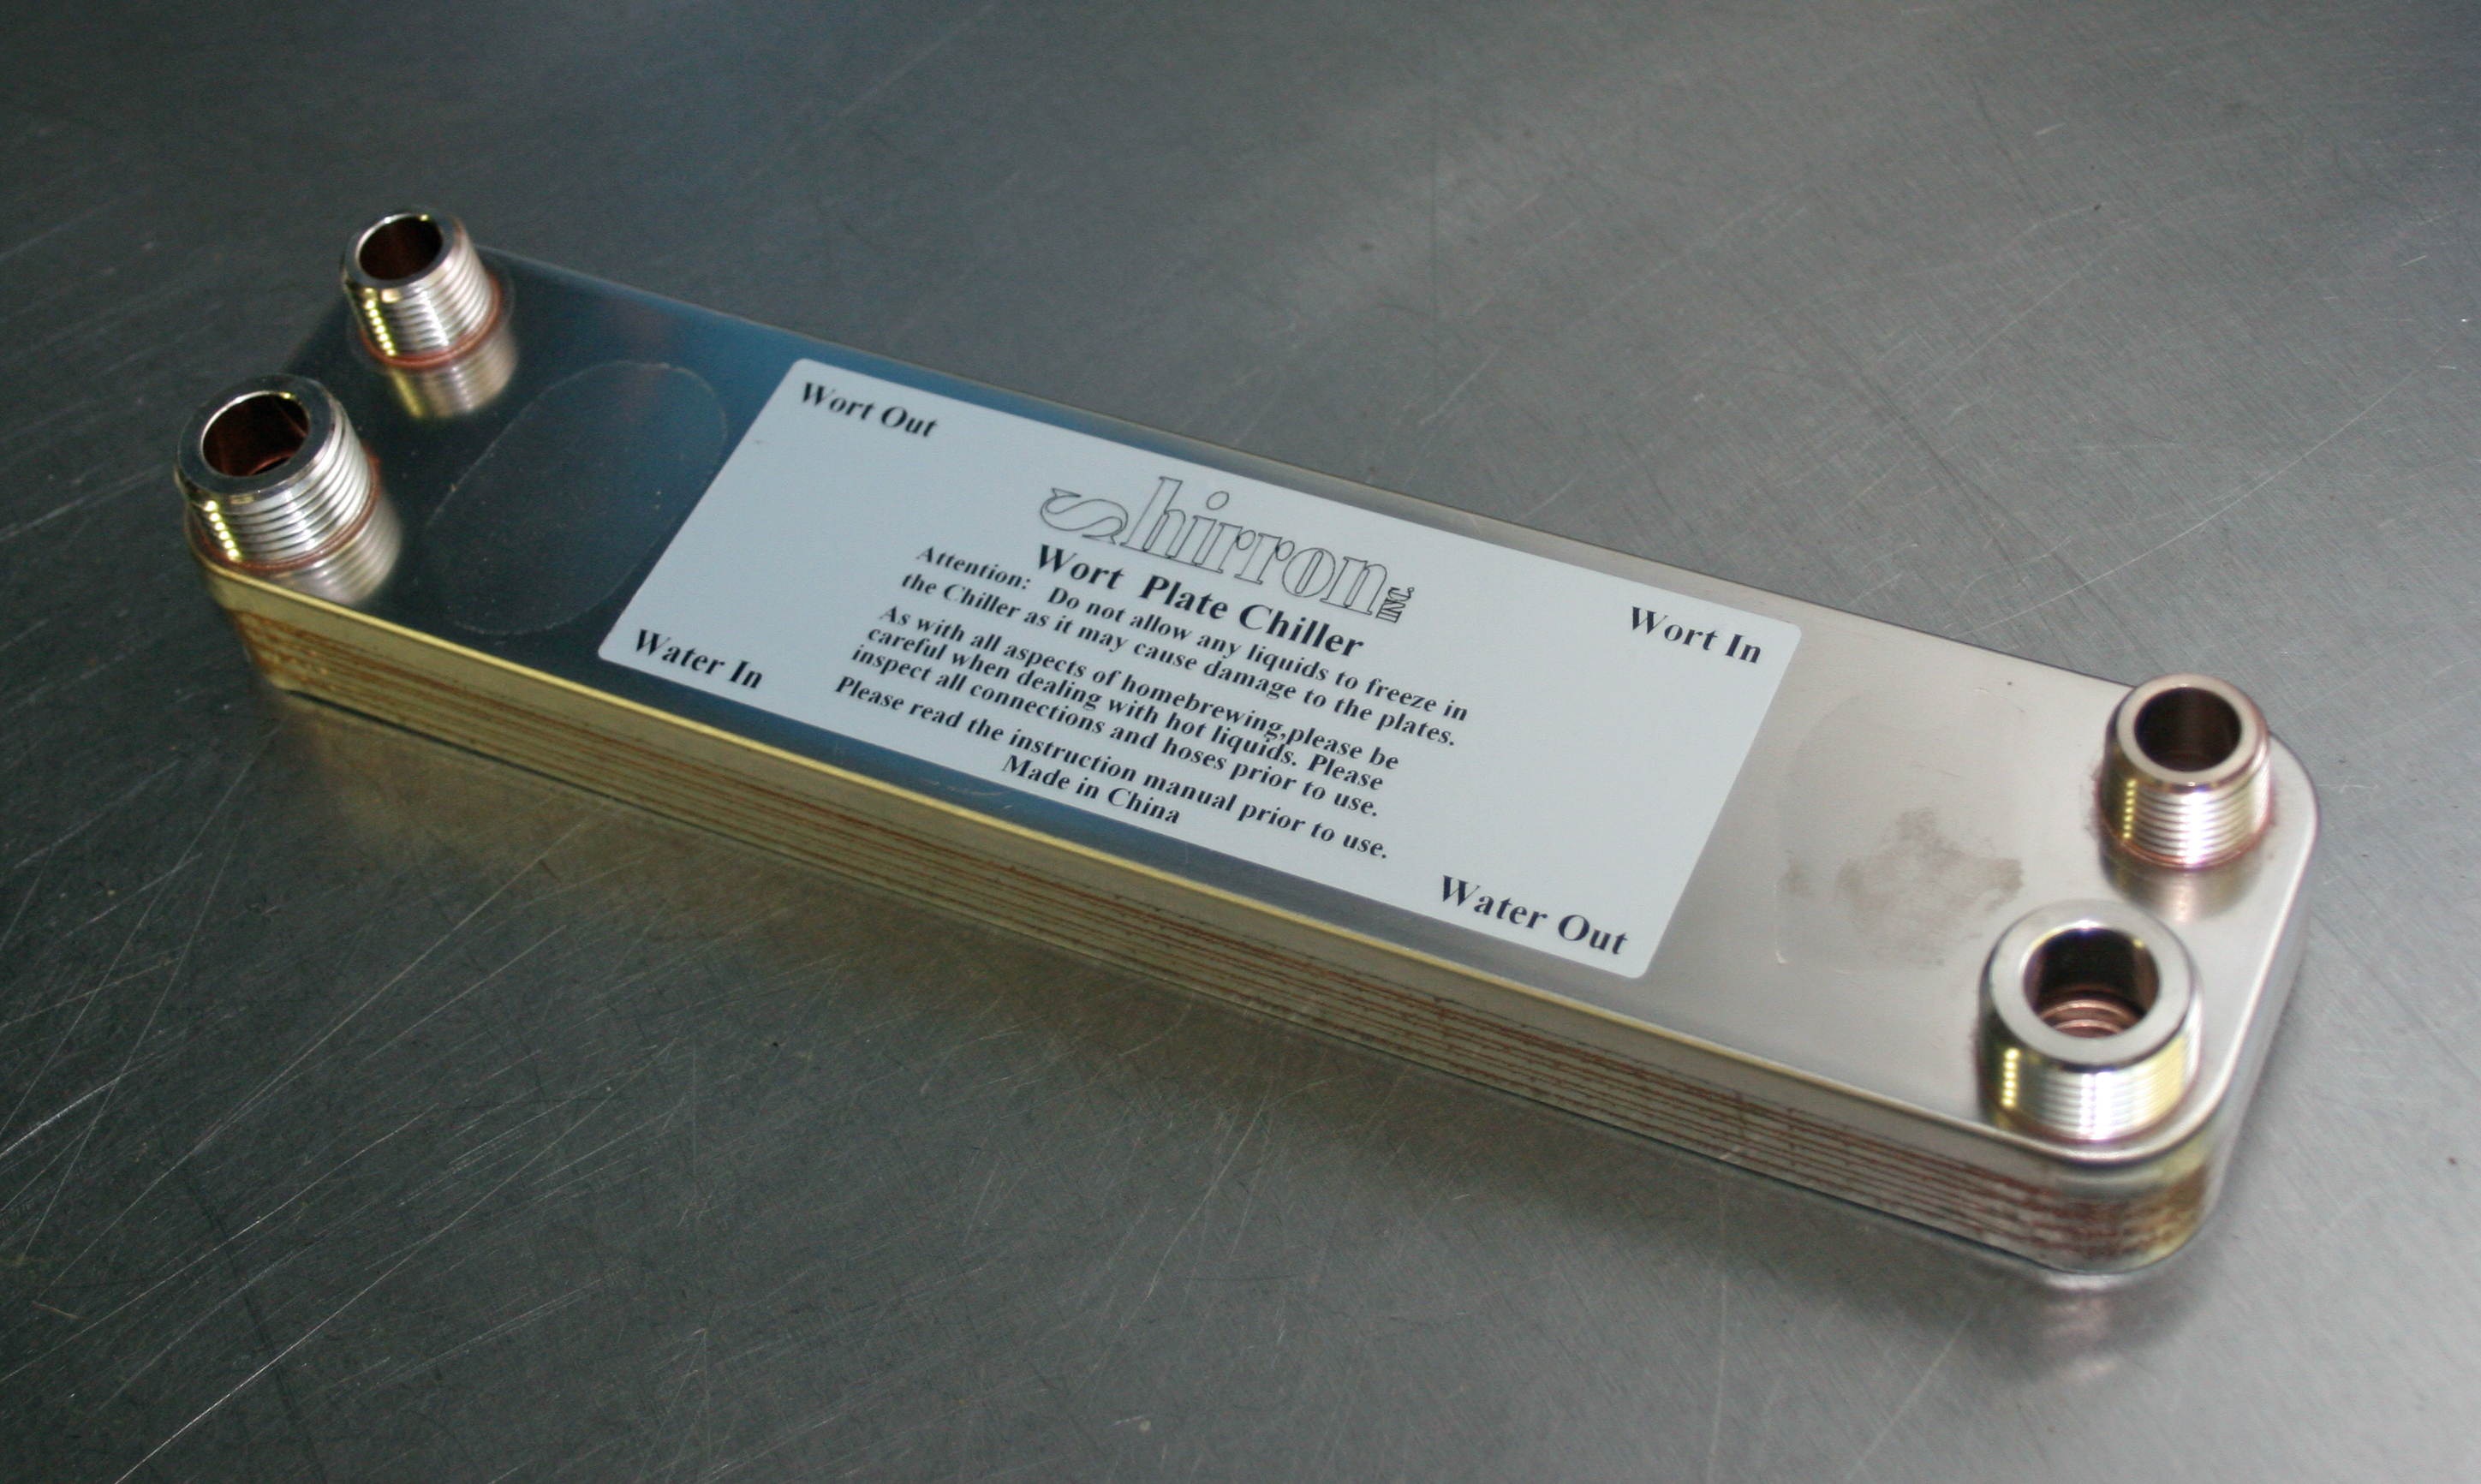
For those doing full-sized batches, a chiller is generally the way to go. Immersion, plate or counter-flow chillers all work well, but are all somewhat dependent on groundwater temperatures, which increase in the summer. Note that you will want to put your clean immersion chiller in the wort for about the last 15-20 minutes of the boil so that the heat sanitizes the chiller.
[caption id="attachment_2364" align="aligncenter" width="650"]

Shirron Stainless Steel Plate Chiller[/caption]
A few methods are used with chillers to get wort even cooler than standard groundwater temperatures. One of these is to "pre-chill" the wort going into the chiller. This usually involves putting an immersion chiller in a bucket of ice water. Allowing the source water to flow through this before entering the primary chiller (whether immersion or counterflow) will get the water temperature, and subsequently the wort temperature, even lower.
Another method that is sometimes used is to place a sump-pump style pump in a bucket or cooler of ice water and recirculate ice water through the chiller and back into the bucket or cooler. This, too, allows temperatures to get lower than with standard tap water, and ice can be replenished as needed.
Armed with this knowledge, we hope you get out there, make some awesome beer, and chill out properly!

 Source: American Homebrewers Association[/caption]
You can then top off in the fermenter with water that you had previously boiled and cooled (to sanitize), or with bottled water, which is ozonated and generally sanitary right out of the sealed bottle. To maximize chilling, cool the water in the refrigerator before adding. Remember not to shock your glass fermenters with hot wort! Instead, pour cool water in and then add hot wort.
For those doing full-sized batches, a chiller is generally the way to go. Immersion, plate or counter-flow chillers all work well, but are all somewhat dependent on groundwater temperatures, which increase in the summer. Note that you will want to put your clean immersion chiller in the wort for about the last 15-20 minutes of the boil so that the heat sanitizes the chiller.
[caption id="attachment_2364" align="aligncenter" width="650"]
 Shirron Stainless Steel Plate Chiller[/caption]
A few methods are used with chillers to get wort even cooler than standard groundwater temperatures. One of these is to "pre-chill" the wort going into the chiller. This usually involves putting an immersion chiller in a bucket of ice water. Allowing the source water to flow through this before entering the primary chiller (whether immersion or counterflow) will get the water temperature, and subsequently the wort temperature, even lower.
Another method that is sometimes used is to place a sump-pump style pump in a bucket or cooler of ice water and recirculate ice water through the chiller and back into the bucket or cooler. This, too, allows temperatures to get lower than with standard tap water, and ice can be replenished as needed.
Armed with this knowledge, we hope you get out there, make some awesome beer, and chill out properly!


